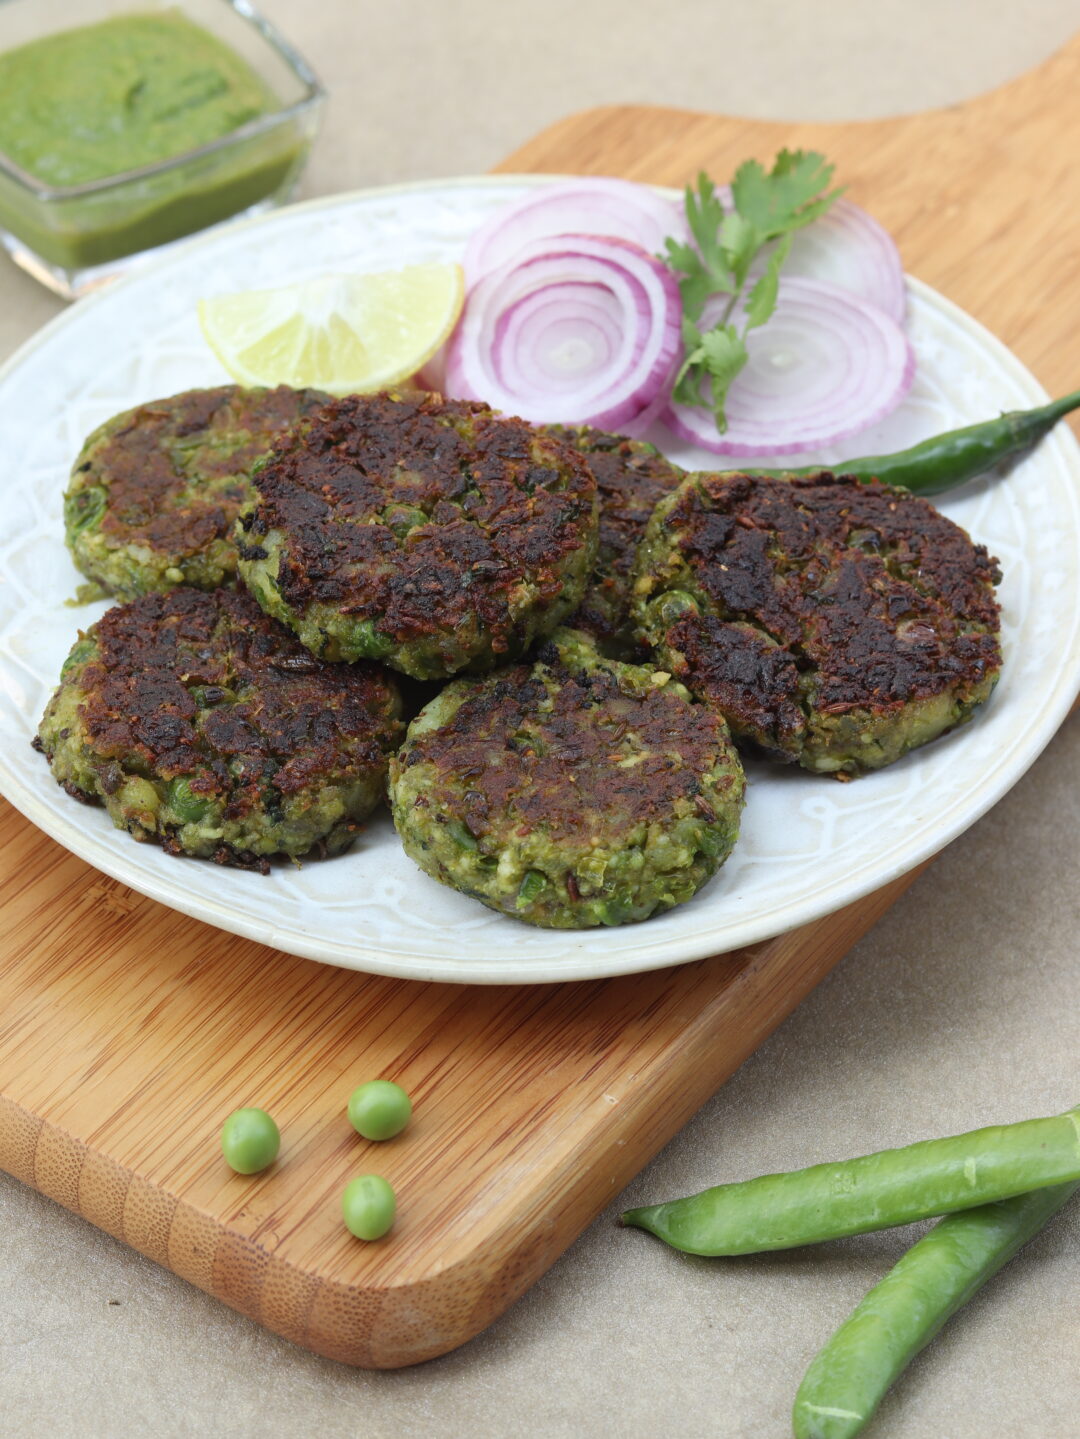
Desserts

Chocolate Strawberry Pudding

When I was younger, my cousins and I would have so much fun ransacking the kitchen, concocting wild and delicious dessert treats for ourselves (away from our parent’s watchful eyes, of course!).  From chocolate syrup on digestive crackers, to DIY ice cream sandwiches, we tried it all.

This Chocolate Strawberry Pudding came about through a similar prompt – I was craving dessert, and didn’t have anything ready, so I pulled my favourite things together, and voila!  It’s sinful, decadent, and absolutely delicious.

Servings 4 (makes 1 square 6”x6” glass dish)
Course Desserts
Preparation Time 10 minutes
Cook Time Nil

Ingredients for the Chocolate Strawberry Pudding 

(1 cup=200 ml, 1 tbsp=15 ml)

2 cups Chocolate sponge cake crumbled
1 cup Strawberries, cut into quarters
1 tbsp Caster sugar
2 cups Vanilla ice cream
1 cup Chocolate ganache
1 tsp Coffee powder mixed wit ½ cup water
Mint leaves for garnish

Instructions for the Chocolate Strawberry Pudding

1. Mix the coffee powder and water, and bring to a boil. Cool down completely and mix in with the chocolate ganache.  The ganache consistency should be pourable.
2. In a glass dish crumble the chocolate cake.  Pour half of the ganache over the crumbled cake.
3. Mix the strawberries and sugar, and keep aside for 10 minutes. Add half of the macerated strawberries over the cake.
 4. Now add a layer of vanilla ice-cream over it.
 5. Spread the remaining strawberries over the ice cream.  Drizzle the remaining ganache over it.  Refrigerate at least for 1 – 2 hours in the fridge (not freezer).  Garnish with mint leaves and serve.


Snacks

Chivda

It’s the season to indulge but it’s also the season of unannounced guests.   To wow your guests and to have the yummiest snack on hand – make my delicious Chivda!

It’s perfect for tea-time or even to serve with your meal.

Servings 8 – 10 persons
Course Snacks
Preparation Time 10 minutes
Cook Time 10 minutes

Ingredients for the Chivda 

(1 cup=200 ml, 1 tbsp=15 ml)

5 – 6 cups Poha
1½ cups Oil for frying
¼th cup Peanuts
¼th cup Cashews
3 tbsp Roasted gram dal (daliya)
2 springs Curry leaves
3 – 4 nos. Green chilies
½ tsp Red chili powder
¼th tsp Turmeric powder
1 pinch of citric acid
Salt, as per taste
Powdered sugar, as per taste

Instructions for the Chivda

1. Heat the oil in a deep fry pan or kadhai.  When oil is hot, test it by dropping one flake of poha. It has to rise up immediately without browning.
2. Now, take a big sieve.  Take the poha in it and touch the sieve bottom to the hot oil to fry the poha.  Stir it constantly.  It should puff up immediately. Remove from oil and keep aside in a plate line with kitchen tissues.
3. Similarly fry the cashews, peanuts, green chilies, daliya (roasted Bengal gram) and neem leaves one by one and keep aside.
 4. Mix all the fried ingredients – season the mixture with salt, turmeric, citric acid crystals and sugar.  Mix well.  Store in an airtight container and consume as required.

Note: 

  1. The deep-fried oil is not good to use again after frying, so should be discarded.
  2. Medium and thick poha should be used for deep frying purposes.
Desserts

Baked Rasgulla

BAKED RASGULLA    Add some sparkle to your Dhanteras celebrations with my Baked Rasgulla recipe! It’s a sure-shot winner with kids and adults and comes together in no time.

All you need is store-bought rasgulla, a couple of additional ingredients and let your oven do the rest of the work!

I also have some helpful tips so be sure to read the whole recipe.

Servings 4 – 6 persons
Course Dessert
Preparation Time 10 minutes
Cook Time 15 – 20 minutes

Ingredients for the Baked Rasgulla 

(1 cup=200 ml, 1 tbsp=15 ml)

10 Nos Rasgullas
1½ cups Milk (whole milk)
¾th cup Unsweetened mawa
½ can or 200 gms Condensed milk (Nestle)
8 – 10 Strands of saffron (dissolved in ½ cup milk)
1 tbsp Saffron milk masala doodh powder (optional) – (Sethi brand is what I used)
2 – 3 tbsp Chopped pistachios for garnish
2 – 3 tbsp Chopped almonds for garnish
Silver varq for garnish

Instructions for the Baked Rasgulla

1. Squeeze the syrup from the rasgullas and arrange in an oven proof dish.
2. Heat the milk in a heavy bottom pan.  Let is start thickening a bit, then add the mawa to it.  Stir continuously to avoid any lumps.
3. Add the condensed milk to it and stir.  Mix the saffron strands in it.  Let the mixture thicken a bit for 5 – 10 minutes on a medium flame.  (It should not be too thin nor too thick).
 4. Pour the milk mixture over the rasgullas.  Add the saffron doodh masala powder over it.  Add ½ of the pistachios over it.
 5. Bake in a preheated oven @ 180℃ for 5-7 minutes until the sides bubble and it looks a bit set.
6. Garnish with remaining pistachios, almonds and silver varq.  You can either serve it warm immediately or cool for 2 hours in the fridge and serve chilled.

Note: 

1. Squeeze the entire sugar syrup from the rasgullas.

2. Don’t use thin low fat milk.  Also the milk mixture should not be too thin.  It will ruin the taste due to watery content.

3. Don’t make mixture too thick as it thickens after baking and also whilst cooling in the fridge.

4. Taste the milk mixture after adding mawa and condensed milk.  If you like it sweeter, add a little more condensed milk.

Appetizers/ Snacks

Dudhiya Kebab (An Awadhi Recipe)

One of my all time favorite recipes- Dudhiya Kebab! An heirloom recipe from the Awadh region, dudhiya kebab comes together very quickly, can be customized in terms of the size and is a sure shot crowd pleaser!

Servings 4 persons
Course Snacks / Appetizer
Preparation Time 10 minutes
Cook Time 20 minutes

Ingredients for the the Dudhiya Kebab

(1 cup=200 ml, 1 tbsp=15 ml)

½ kg Paneer
1 tbsp Shah jeera (black cumin seeds)
2 Nos (180 grams) Boiled potatoes
3 tbsp Besan
2 – 3 tbsp Tomato ketchup  (Maggi hot n sweet)
70 gms Grated Amul Cheese
Black salt to taste
Salt to taste
1 tsp Red chili powder
1 tsp Honey
1 No. Juice of 1 lemon (Indian size)
A few Kasuri methi leaves
A pinch Of garam masala powder
Bread crumbs to coat
Ghee for shallow frying

Instructions for the Dudhiya Kebab

1. Boil the potatoes and mash them well.
2. Cut the paneer into roundels or squares with a cookie cutter.  It should be ½” in thickness.
3. In a pan add 2 tbsp ghee.  Sauté the shah jeera, besan and red chili powder.  Sauté the besan well.
4. Add in mashed potatoes, salt, lemon juice, honey, black salt, tomato ketchup, garam masala, cheese and mix well. Cook for 1 – 2 minutes.
5. Stuff this mixture between two round paneer slices and coat the paneer with bread crumbs on both sides.
6. Shallow fry the stuffed paneer slices in ghee on both sides and serve hot with mint chutney.


Mains

Raw Mango Curd Rice

Raw or ripe, you can’t go wrong with mango. Raw Mango Curd Rice is a summer essential as it is light, flavourful, and tangy.

Curd rice is known by many names throughout the country, and in every household it is a comfort food. For days when you are sick or want to keep it light, curd rice is your go-to meal.

This simple yet delicious dish compliments the weather beautifully. Swipe to see the recipe. Share your raw mango recipes in the comments below.

Servings 2 persons
Course Main Course
Preparation Time 10 minutes
Cook Time 10 minutes

Ingredients for the Raw Mango Curd Rice

(1 cup=200 ml, 1 tbsp=15 ml)

2 cups Cooked rice
2 cups Beaten yogurt
½ cup Raw mango grated
½ cup Cucumber grated (squeeze the excess water)
2 – 3 Green chilies, finely chopped
¼th cup Milk (chilled)
A handful of Coriander leaves finely chopped

Ingredients for tempering

(1 cup=200 ml, 1 tbsp=15 ml)

1 – 2 tbsp Oil
2 tsp Mustard seeds
½ tsp Urad dal (white one)
½ tsp Chana dal
A pinch Of heeng (asafoetida)
2 – 3 Whole red chilies
A few Curry leaves

Instructions for the Rice

1. Take the boiled and cooled rice in a dish.  Mix all ingredients for the rice except salt and keep aside in the refrigerator to cool for 1 hour at least.
2. Heat the oil.  Temper the mustard seeds, dals, heeng, curry leaves, chilies.
3. Add tempering to the rice. Mix salt. Check for seasonings and add as per taste.  Serve at once.
4. Best served chilled.

Note:  We add salt just before serving as the cucumber should not release the liquid

Breakfast

Classic French Toast

With Rakhi coming up, I’m sure you’ve all started to think about what to make for your siblings to treat them on this special day. Cooking them a meal is always a heartfelt gesture, and I’m positive they’ll absolutely love this Classic French Toast!

It’s so easy to make, and a fun recipe to make with your loved ones. The best part about French Toast is that you can pile it high with your favourite toppings. My favourite thing to do when I’m hosting a brunch is to make lots of French Toast, and have a toppings buffet! That way, people can try different combinations, and it makes it even more fun.

Servings 2 persons
Course Breakfast
Preparation Time 10 minutes
Cook Time 10 minutes

Ingredients for the Classic French Toast

(1 cup=200 ml, 1 tbsp=15 ml)

4 Nos. Brioche bread slices (preferably a day or 2 old)
2 Nos. Eggs
½ cup Milk
2 – 3 tbsp Salted butter
A pinch Of cinnamon powder
½ tsp Vanilla essence
Honey / maple syrup to drizzle
Whipped cream to serve
Nutella to serve
Icing sugar to dust

Instructions for the Classic French Toast

1. Mix the eggs, milk, cinnamon powder in a bowl and whisk well.  Add in the vanilla essence.
2. Heat a pan and melt butter.  Dip the brioche slice in the egg-milk mixture and coat well.
3. Fry the coated bread slice on the pan with butter turning and flipping it on both sides. Repeat with the remaining 3 slices.
4. Before serving, dust with icing sugar.  Drizzle maple syrup or honey. Serve with whipped cream and Nutella spread.


Desserts

Toffee Walnuts

Rakhi is nearly here and I’m sharing my favourite sweet treats that you can enjoy with your siblings and family.

I have such fond memories of going to ice cream parlours throughout my childhood with my family – it would always bring a smile to everyone’s faces. I’m still a huge ice cream fan, and that’s why I’m excited to share my recipe for Caramelized Walnuts. It’s got so much depth of flavour, and I love piling my ice cream high with these.

What ice cream flavour will you be topping with these?  I love it on vanilla and chocolate, but I want to hear what you think!

Servings Makes 2 cups
Course Dessert
Preparation Time 5 minutes
Cook Time 20 minutes

Ingredients for the for Toffee Walnuts

(1 cup=200 ml, 1 tbsp=15 ml)

1½ cups walnuts
¼th  cup Brown sugar
¼th  cup Caster sugar
2 tbsp Golden syrup
2 tbsp Salted butter
½ tsp Vanilla extract
1 tbsp Water
2 – 3 tbsp Toasted sesame seeds

Instructions for the Toffee Walnuts

1. Preheat oven to 150℃. Toast the walnuts for 10 minutes
2. Line a cookie sheet with parchment paper or silpat.  Set aside.
3. Heat a saucepan, add in the sugars, golden syrup and water.  Stir using an infolding motion.   Add in the butter and walnuts. Cook over medium heat. If you have a candy thermometer check until the mixture reaches 295 degrees.  Be careful not to burn the mixture as it will become bitter.  Do not let the sugar crystallize.
4. Remove from heat, add in vanilla extract. Spread the nuts on a lined baking sheet or silpat.  Use 2 forks to separate nuts.  Sprinkle the toasted sesame seeds.  Allow it to cool until hardened.   Store in an airtight container and use.

Notes:

1. This is best eaten over any ice cream.
2. You can use toffee walnuts in salads too.
3. Can be served along with cheese platters too.


Mains/ Others

Asian Style Tofu

Tofu often gets a bad reputation for being bland. To those who believe that, you have to try a bite of my Asian Style Tofu, and I’ll see what you have to say then.

I love cooking with tofu because it’s such a healthy protein source. It’s low in saturated fat, cholesterol- free, full of nutrients like calcium, iron, and magnesium. It’s also the perfect canvas to absorb bright & exciting flavours. This recipe is so simple, and it’s a great introduction to tofu for people who aren’t as familiar with it just yet (while still being wonderful for those who are)! I love serving this with some rice and steamed greens, for a well-balanced and nourishing meal.

Are you a tofu fan? Comment below with your favourite tofu recipes, I want to try them all!

Servings 2 – 4 persons
Course Main
Preparation Time 10 minutes
Cook Time 10 minutes

Ingredients for the Asian Style Tofu

(1 cup=200 ml, 1 tbsp=15 ml)

6 large Silken tofu (extra firm)
3 tbsp Blended sesame oil
1 tbsp Finely chopped ginger
1 tbsp Finely chopped garlic
1 – 2 Dry red chilies, whole
3 tbsp Veg mushroom oyster sauce
1 tbsp Chili oil
1 tbsp Light kikoman soya sauce
½ cup Veg stock
1 tbsp Sugar
1 tbsp Corn flour dissolved in 3 tbsp water
Salt optional
½ tsp White pepper powder (optional)
2 tbsp Rice wine vinegar
10 – 12 Fried basil leaves as garnish
1 tbsp Toasted sesame seeds to garnish

Instructions for the Asian Style Tofu

1. Remove the excess water from the tofu packet and wipe dry.  Micro for 10 – 15 seconds and keep aside.
2. On a high flame in a wok, heat sesame oil. Sauté the chilies, ginger and garlic.  Add in the oyster sauce, soy sauce, sugar and veg stock.  Let it caramelize.  Add in the chili oil and the corn flour shirry. Let it slightly thicken.  Adjust the consistency by stirring continuously.  Add in vinegar, salt and pepper (Note: the sauces are high on sodium, so salt can be avoided).
3. Pour the piping hot sauce over the steamed tofu.  Garnish with fried basil, spring onion greens, sesame seeds and serve immediately.

Appetizers

Baked Jalapeno Poppers

The first time I had stuffed jalapenos at a restaurant, couldn’t get over them. The spicy, creamy, tangy combination was like nothing I’d ever tried before, and I couldn’t stop craving them.

Jalapeno Poppers is a Tex-Mex & American dish, which draws inspiration from Mexican cuisine, and gained global popularity in the 1980s – with good reason! One bite of my Baked Jalapeno Poppers, and you’ll know why too.

Servings 4 – 6 persons
Course Appetizer
Preparation Time 5 minutes
Cook Time 15 – 20 minutes

Ingredients for the Baked Jalapeno Poppers

(1 cup=200 ml, 1 tbsp=15 ml)

6 large Fresh jalapeno peppers
2 – 3 tbsp Goat cheese, softened
3 tbsp Cream cheese softened
Salt to taste
½ tsp Minced garlic or garlic powder.
1 tsp Elote seasoning or paprika (optional)
¼th  cup Grated cheddar cheese (Kraft)
A little Sriracha sauce or any hot sauce to drizzle.
1 tbsp Walnut crumble (optional)

Instructions for the Baked Jalapeno Poppers

1. Combine the cream cheese, goat cheese, garlic or garlic powder, salt and elote seasoning.  Mix well and fill the mixture in a piping bag.
Cut the jalapeno peppers into 2 and de-seed them. Arrange them flat on a baking tray.
3. Pipe the peppers with cheese mixture.  Sprinkle grated cheddar on top.
4. Bake in a preheated oven @ 200℃ for 10 – 13 minutes until the cheese is bubbling and golden brown.
5. Serve hot piped with hot sauce and walnut crumble.

Soups & Salads

Marinated Mushroom Salad

In the mood for something healthy and delicious?  I have got the right recipe for you- Marinated Mushroom Salad.

Refreshing, earthy, and delicious, this nutrient-packed salad bridges the gap between health and taste.  Mushroom are packed with Vitamin D, adding to your daily dose of sunshine.

Servings 2 – 3 persons
Course Salads
Preparation Time 10-15 minutes
Cook Time Nil

Ingredients for the Marinated Mushroom Salad

(1 cup=200 ml, 1 tbsp=15 ml)

4 cups Fresh mushrooms, cut into quarters
1 cup Scallions,  (green spring onions finely chopped)
1–2 med. Sized Tomatoes, finely chopped
3 -4 cloves Garlic, minced
4-5 tbsp Sundried tomatoes, chopped
A few (8-10) Basil leaves, torn
3-4 tbsp Olive oil
1 tbsp Balsamic vinegar
Juice of 2 lemons (Indian sized)
A few drops Of tabasco
1-2 tsp Coarsely ground black pepper
Salt to taste
1 cup Red cabbage shredded

Instructions for the Salad

1. Heat water up to a boil.  Add the mushrooms in it and let it blanch for 2 – 3 minutes.  Drain and  keep aside to cool completely.
2. Add all ingredients for the salad except salt and red cabbage.  Mix well.
3. Klin wrap and chill in fridge for 2 – 3 hours (basically you need the flavours to marinate well with the mushroom.  You can taste at this stage, increase or decrease the lime juice, balsamic and tabasco quotient).
4. Once chilled, add salt and mix well.  Serve chilled on a bed of red cabbage.
Note: You can marinate this for upto 10-12 hours also.  Just add fresh greens again before serving. Should be served chilled.