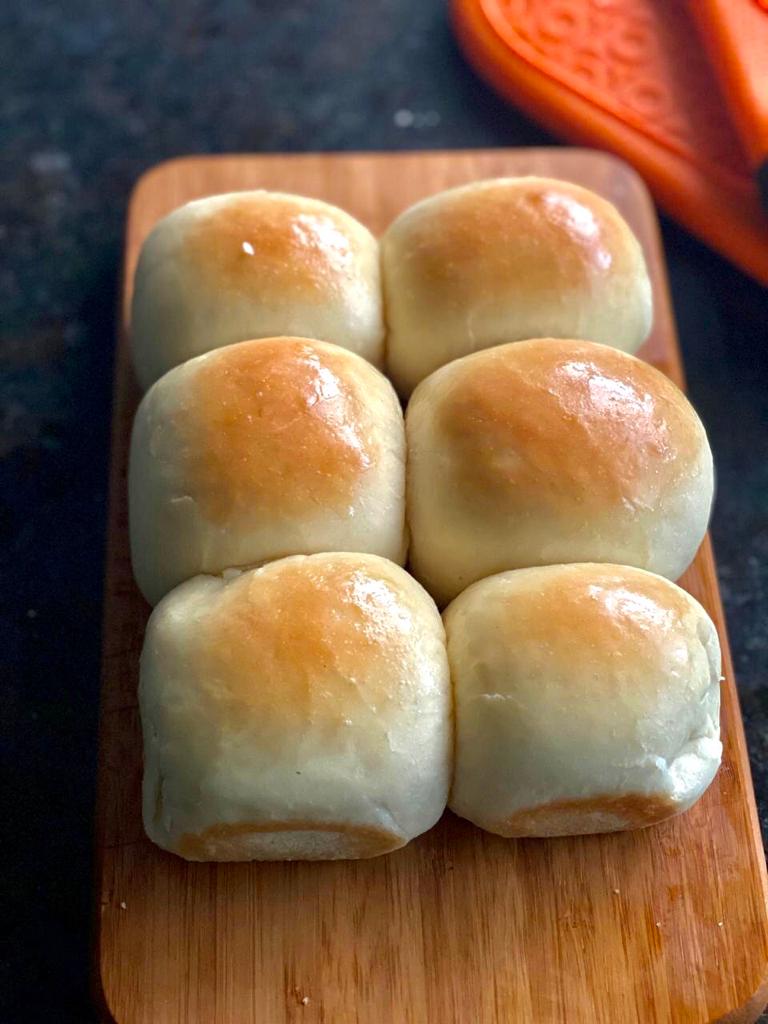
Ladi Pav – Quintessential Mumbai memories!
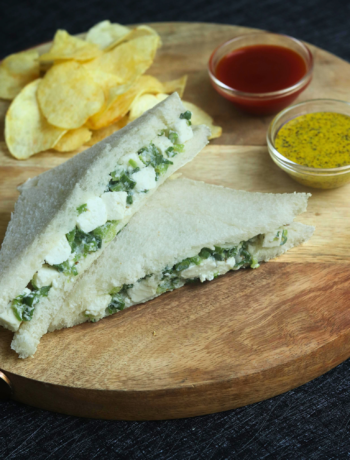
Typically paired with street food stars such as “Vada Pav”, “Pav Bhaji” besides staples like Keema, Misal etc., the Ladi Pav boasts of a unique texture and flavour, which at times, can be daunting to replicate!
Originating in Goa with the Portuguese invasion, this bread was fermented using toddy in the absence of yeast n from here, it transcended straight into the lap of Mumbai.
If you are looking for that true Mumbaikar experience, this simple recipe will surely not disappoint!
Read More…
| Course | Main Course |
| Servings | Makes 6 pieces (serves 2-3) |
| Prep time | 10 minutes |
| Cook time | 1½ hours |
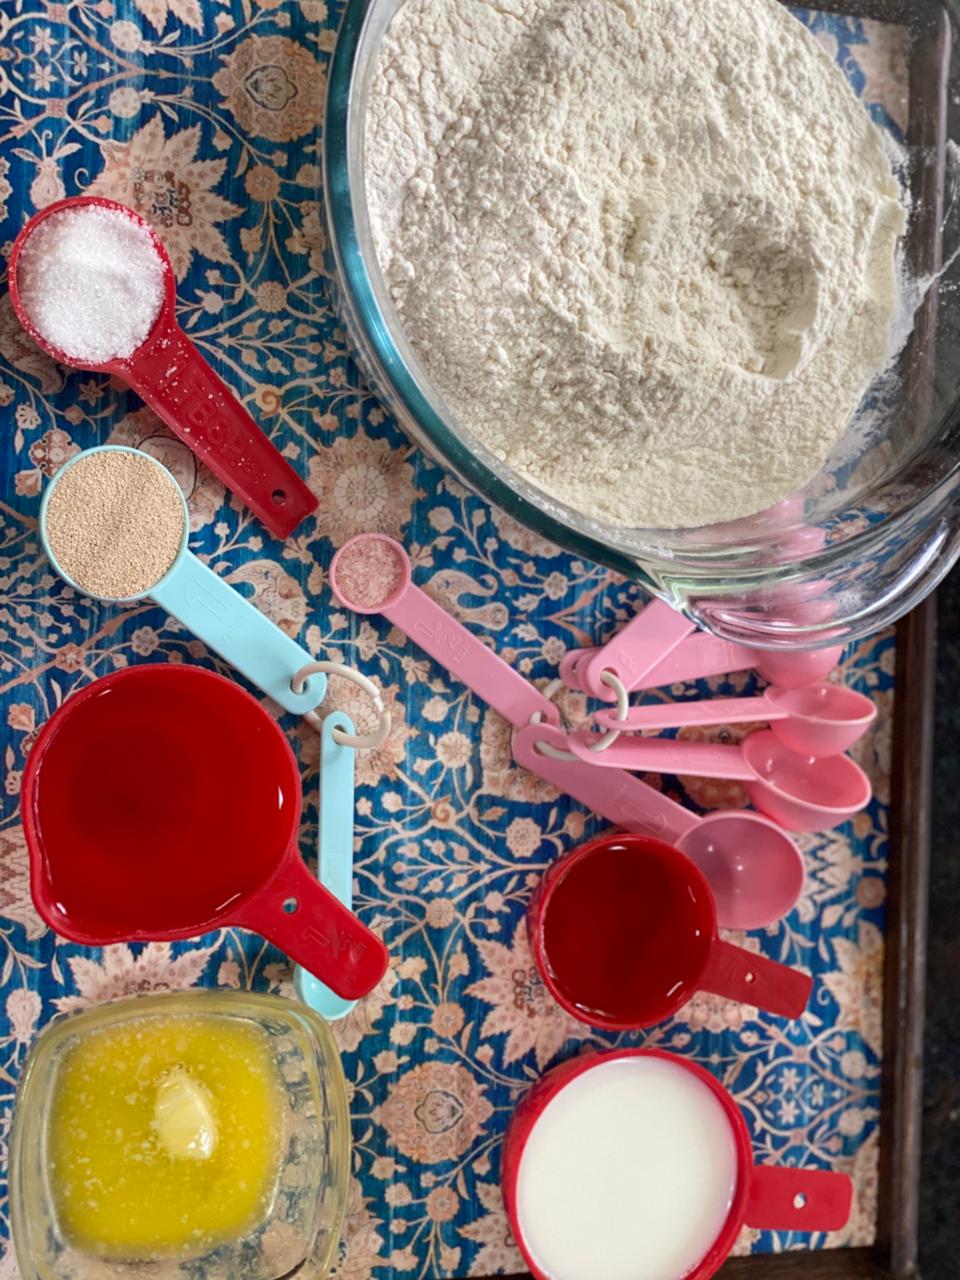
Ingredients for Ladi Pav( 1 cup=200 ml, 1 tbsp=15 ml)
|
|
| 2½ cups (240 gms approx.) | Maida (white flour) |
| 1 tbsp (5 gm) | Fresh or instant yeast |
| 1 tbsp (5 gm) | Castor sugar |
| ¼th cup (30 ml) | Vegetable oil + plus extra for brushing |
| ½ tsp (2.5 gm) | Salt |
| ½ cup | Lukewarm milk |
| ½ cup | Lukewarm water |
| A little | Melted butter |
Instructions for Ladi Pav |
|
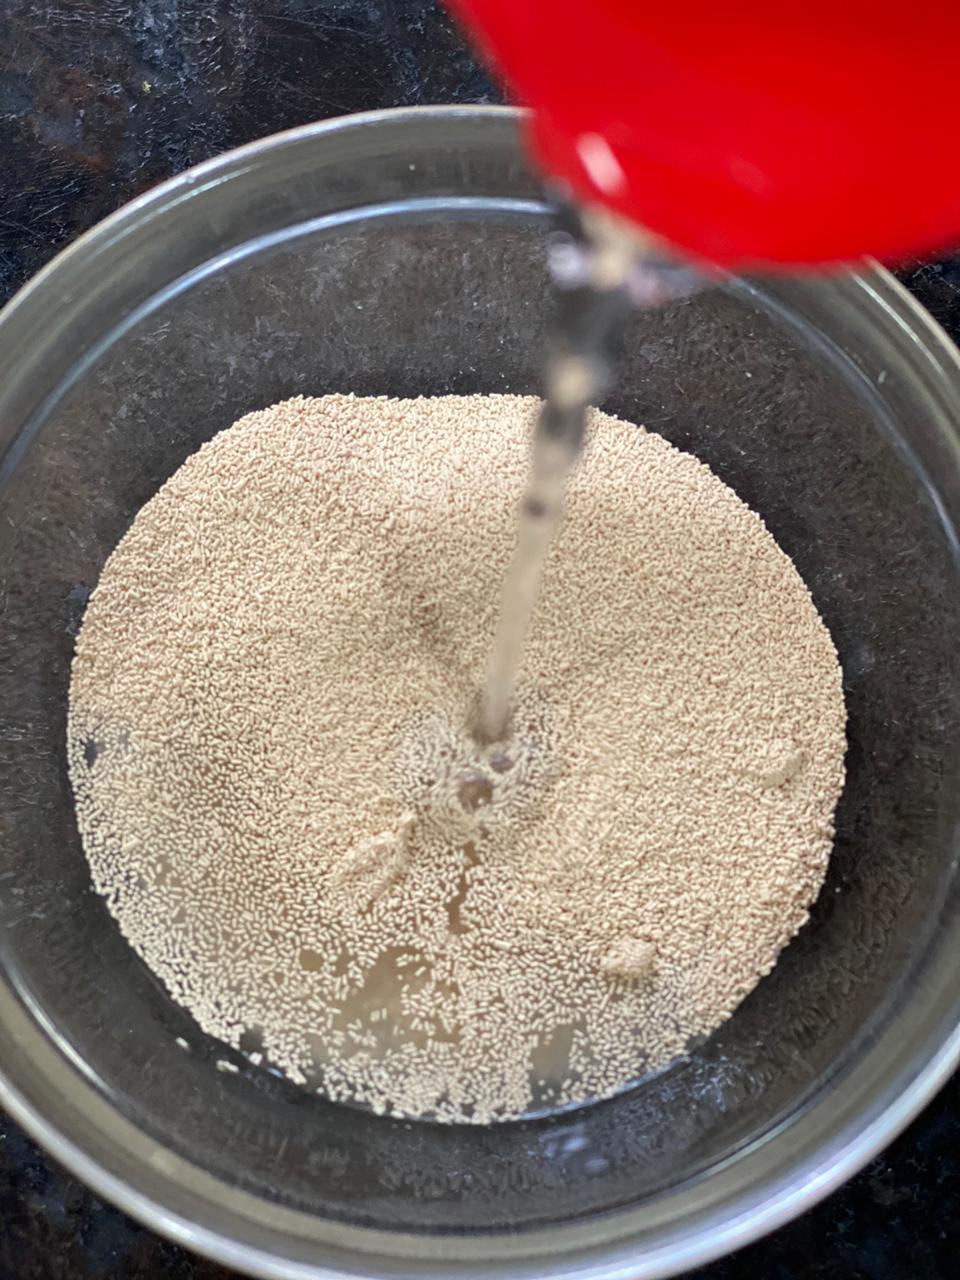
| 1. | Place the yeast, sugar and water in a small mixing bowl. Leave in a warm place to froth for 5 – 7 minutes. (In case the yeast mix doesn’t froth, your yeast is dead).
|
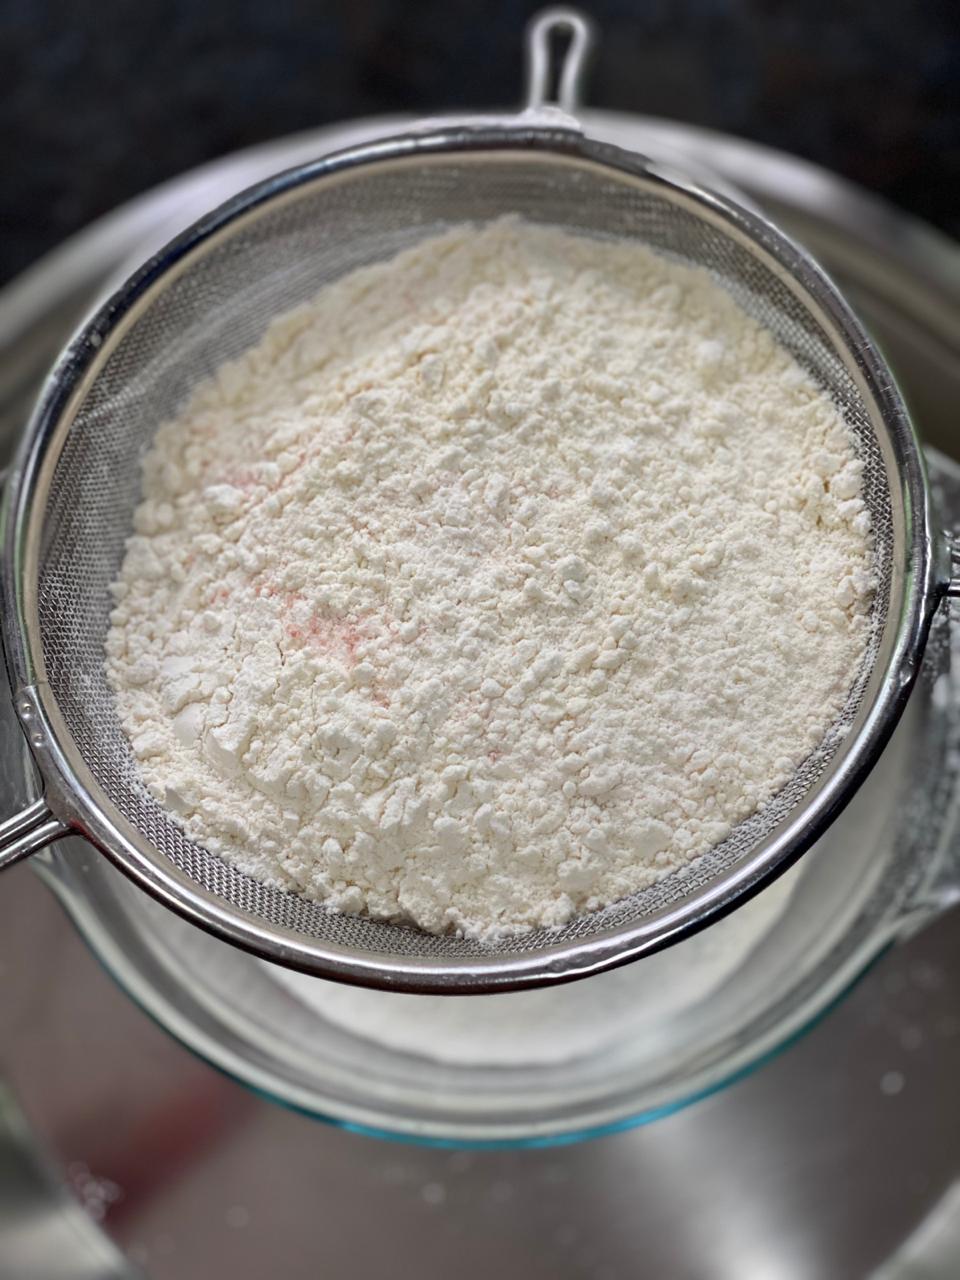
| 2. | Mix the salt and flour together. Sieve it.
|
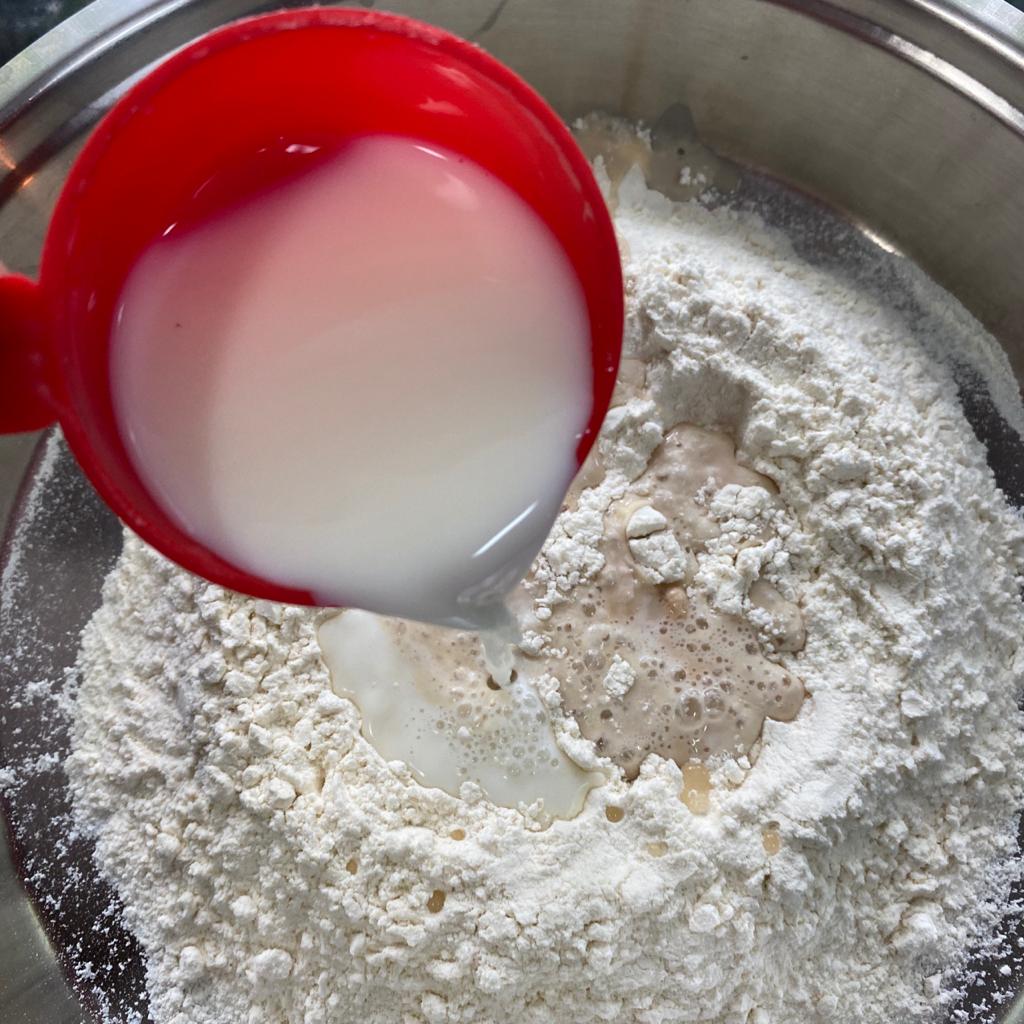
| 3. | Add the milk and frothy yeast mix to the flour and start kneading it into a dough. Do this for 3 – 4 minutes
|
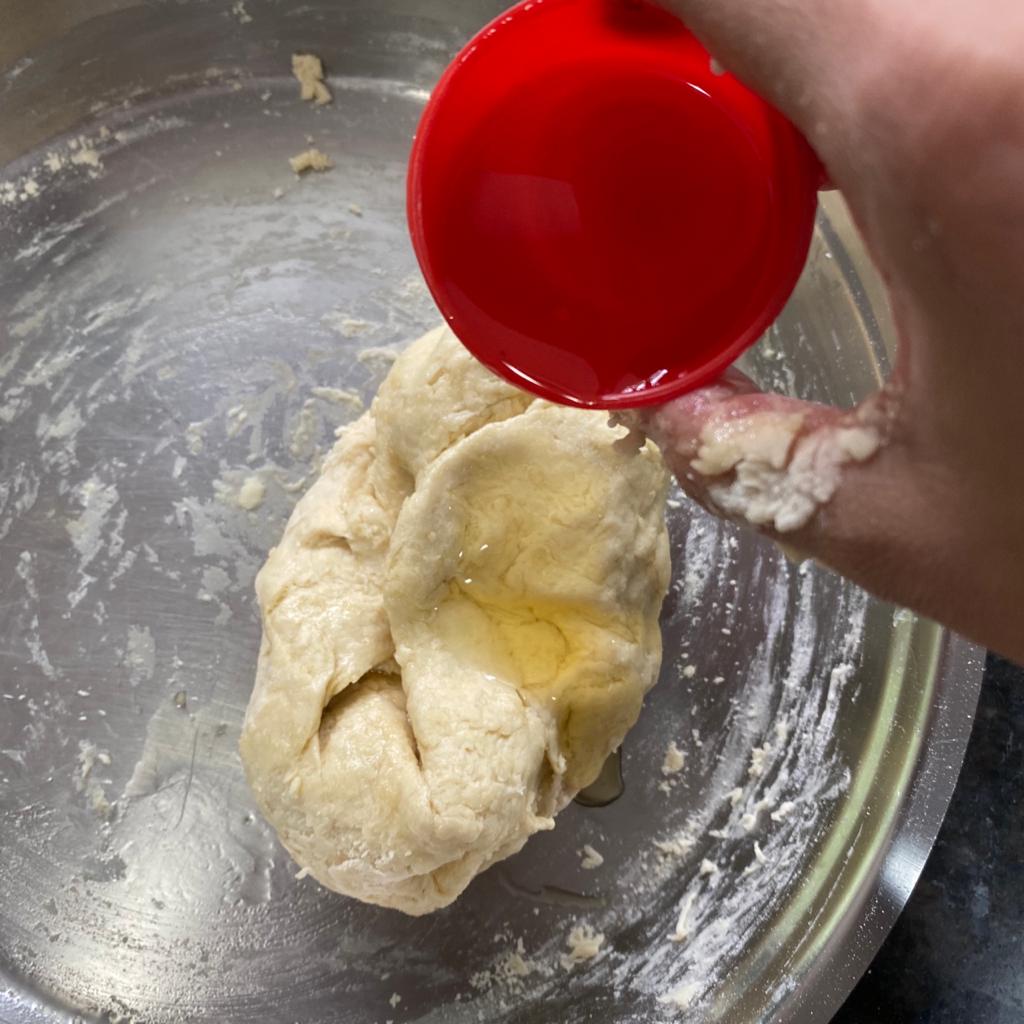
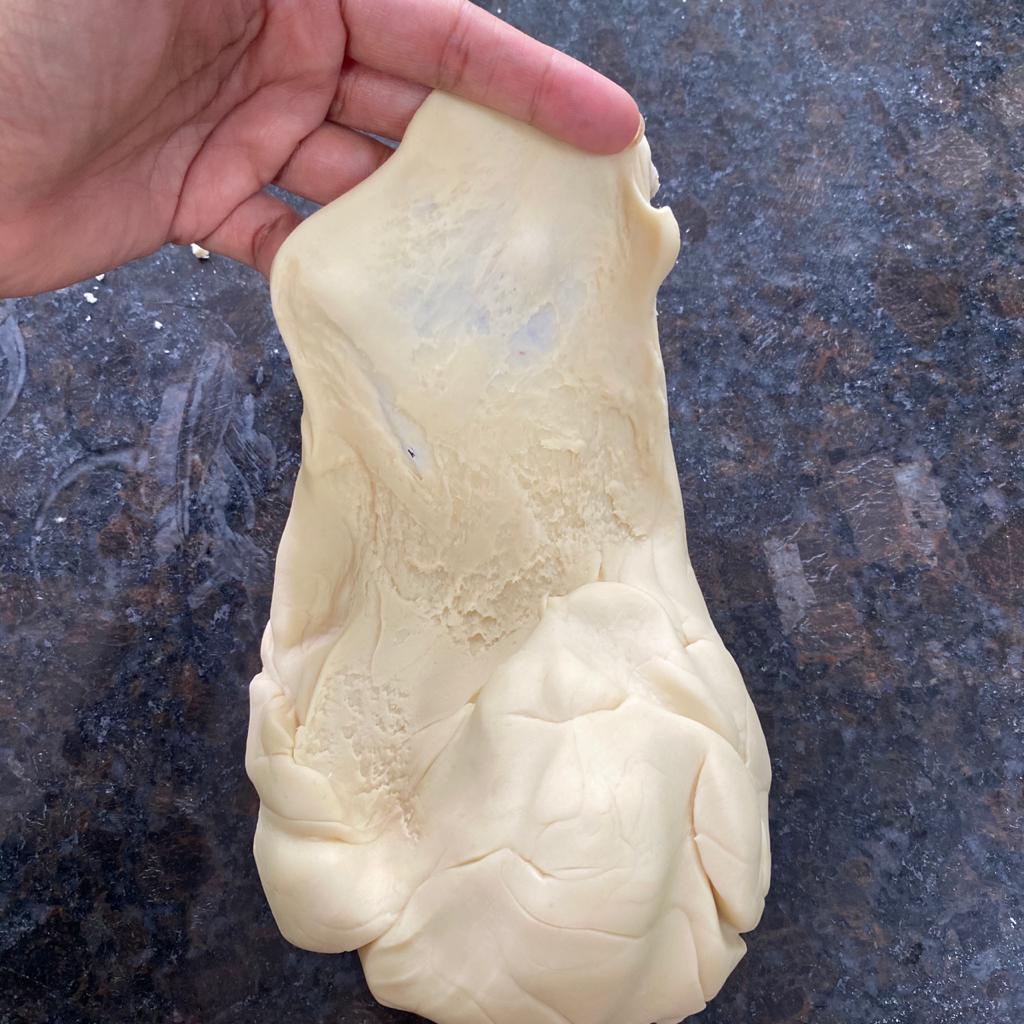
| 4. | Add oil, little at a time, and continue kneading the dough. The dough will snap, but will soon come together. Keep adding the oil and continue to stretch and fold the dough. Knead for 8 – 10 minutes until the dough is silky to touch.
|
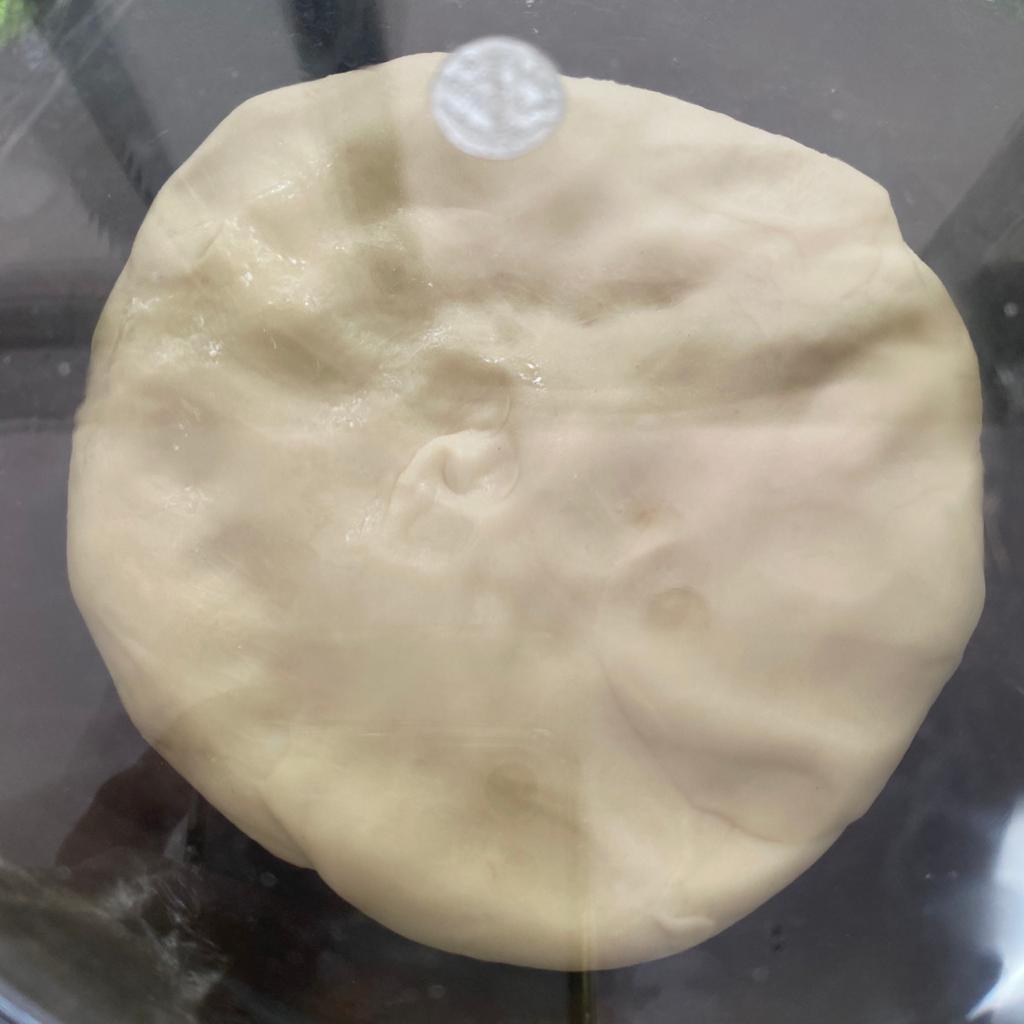
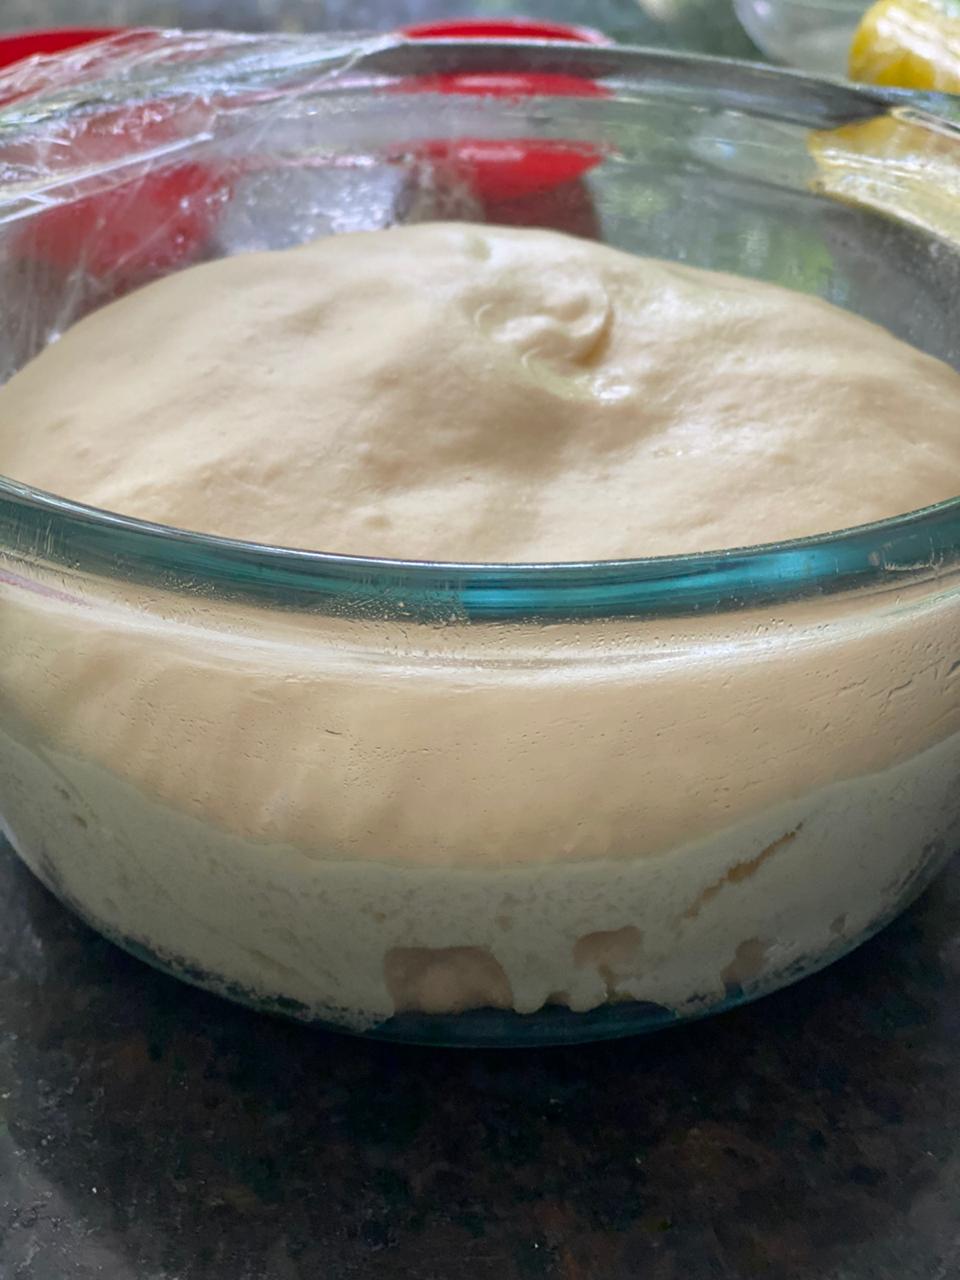
| 5. | Shape the dough into a ball and leave aside to prove in a glass bowl. Cover the dough with klin wrap or a wet muslin cloth. Let it rise in a warm place for 45 minutes – 1 hour until it doubles in size.
|
| 6. | Meanwhile grease your rectangle or square baking tin on all sides with oil. You can alternatively line it with parchment paper.
|
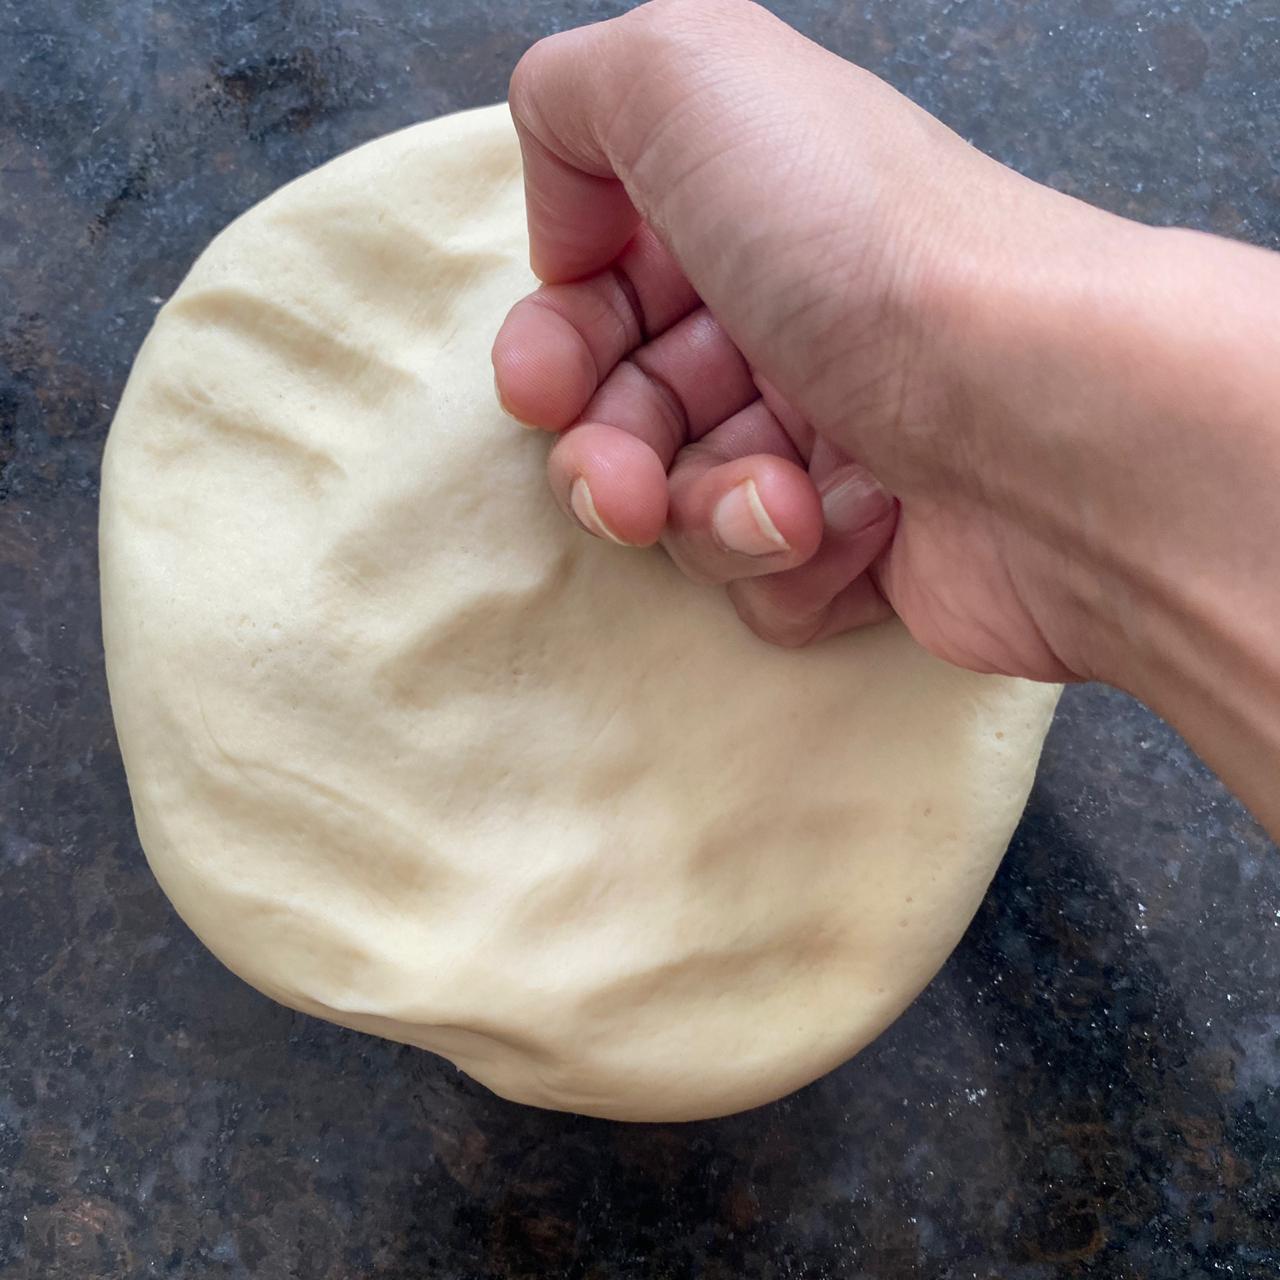
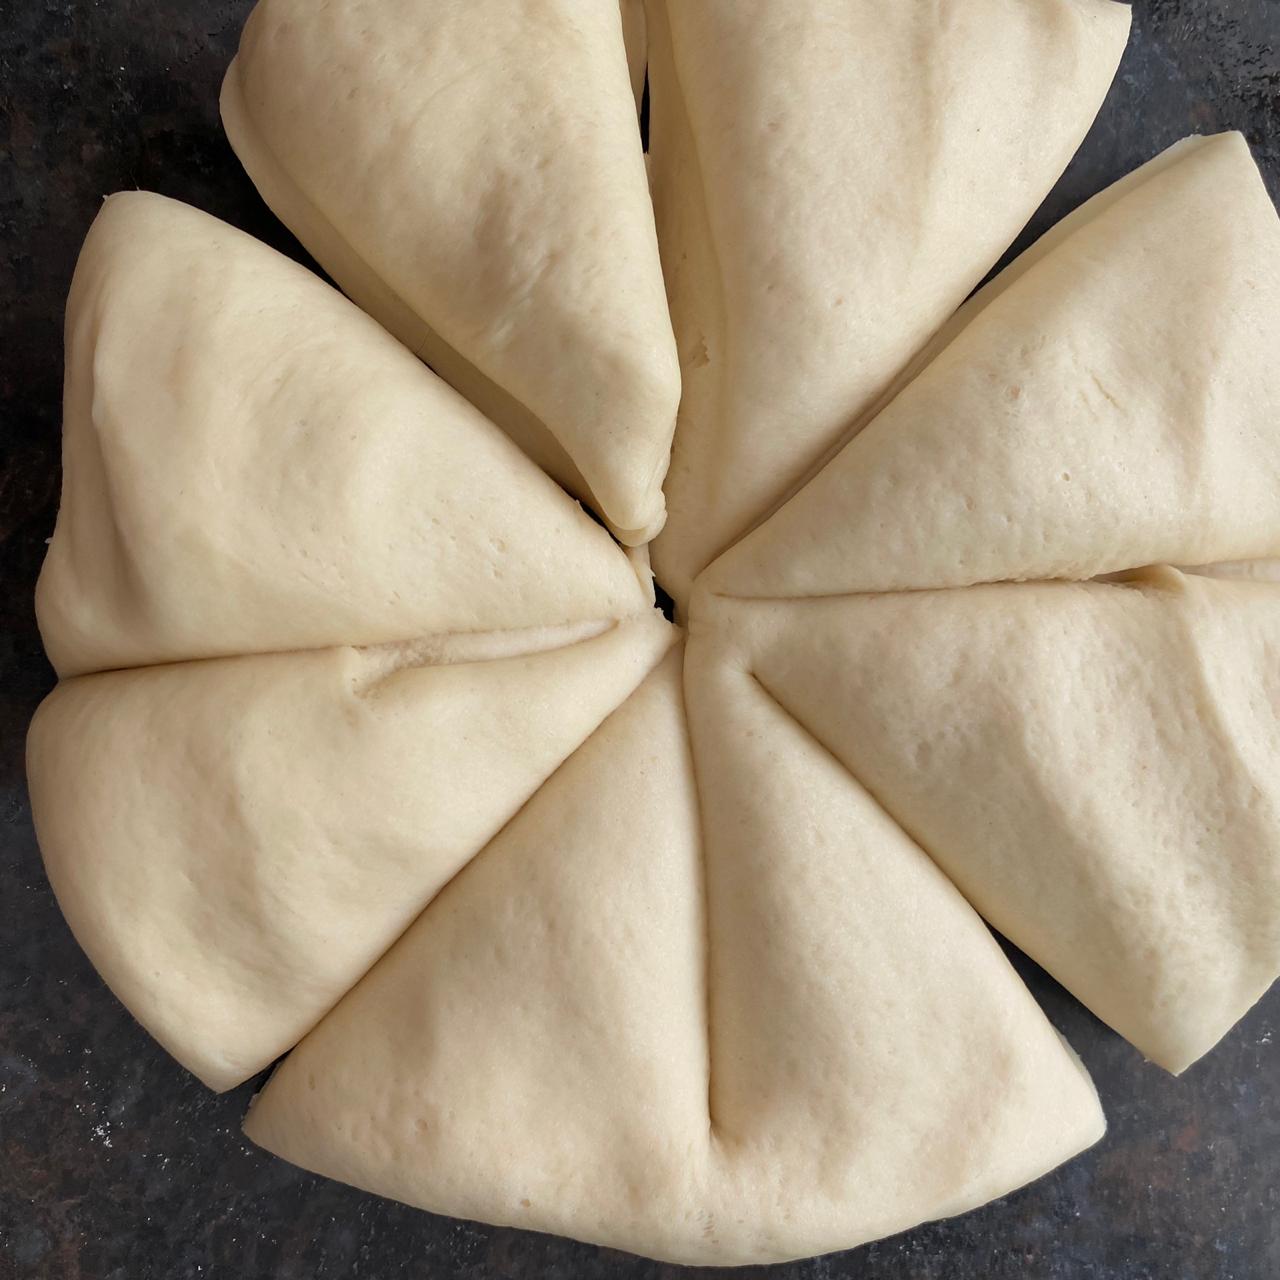
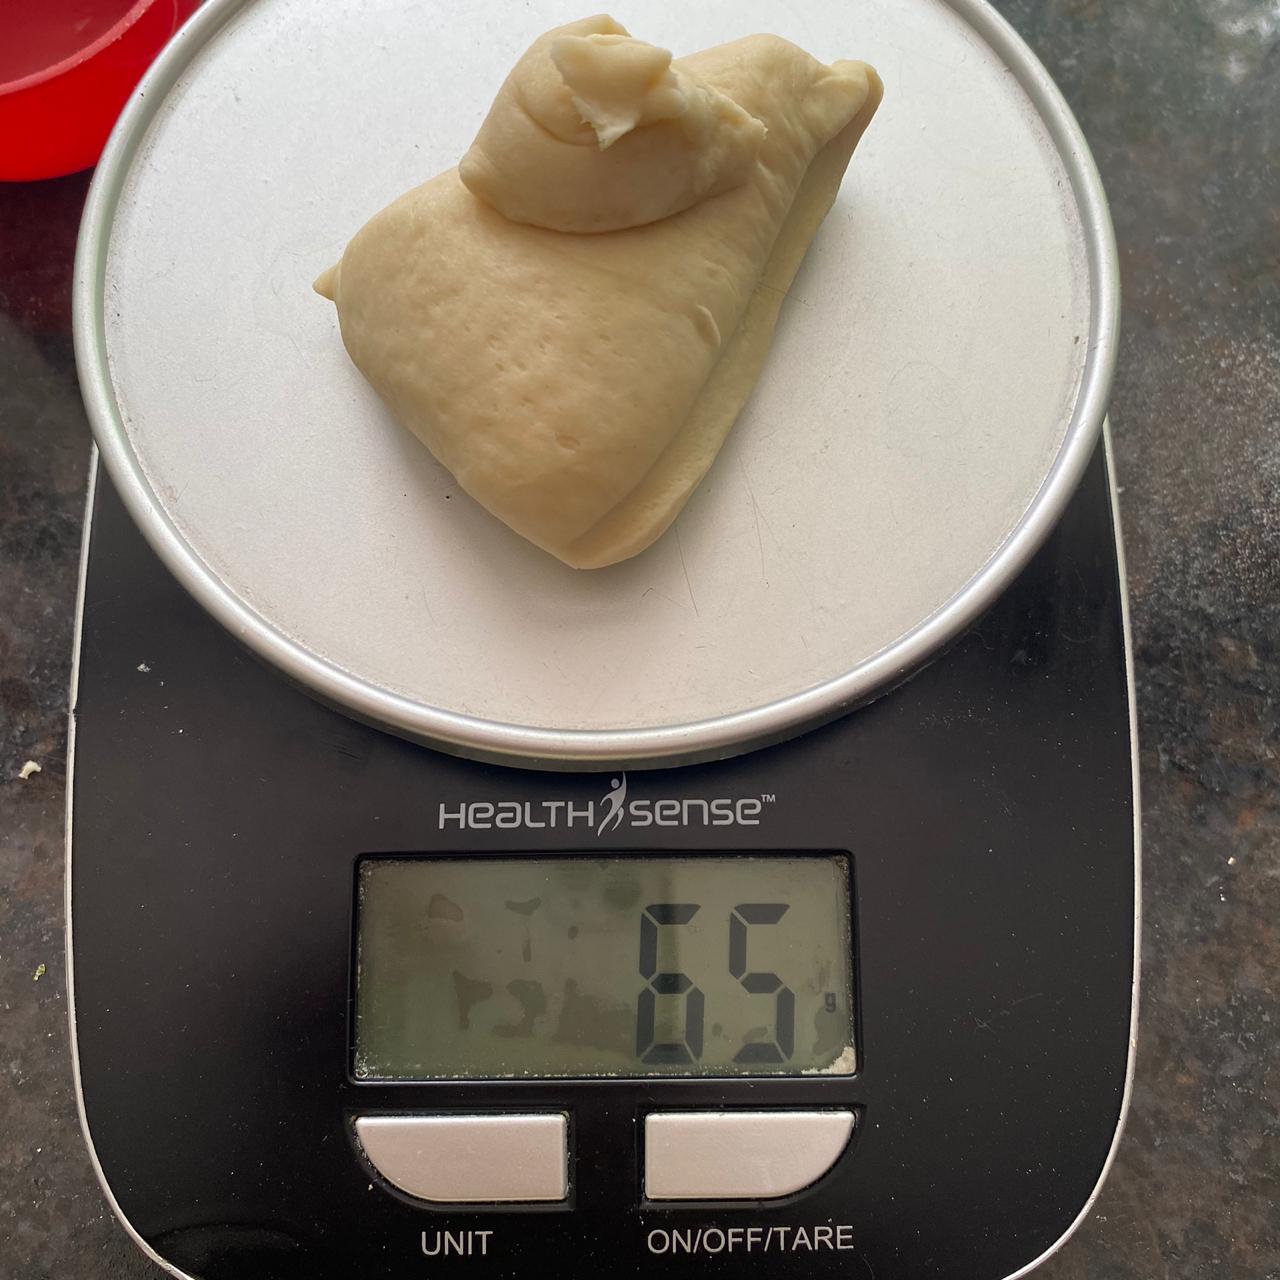
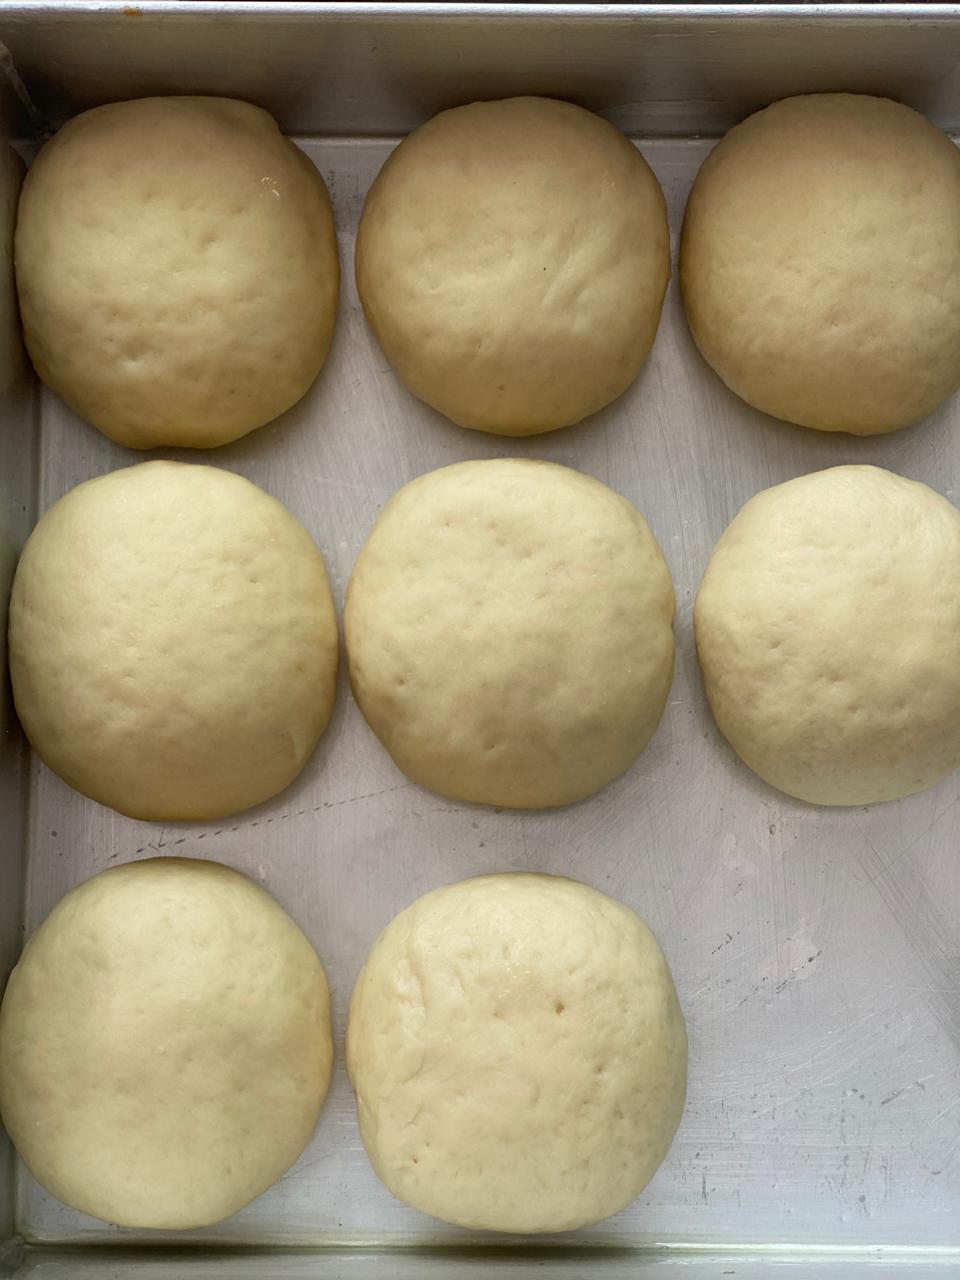
| 7. | Knock back the dough once it rises to de gas it. Divide into 6 – 8 balls depending on the size you prefer. (I cut them into 60 – 65 gms each).
|
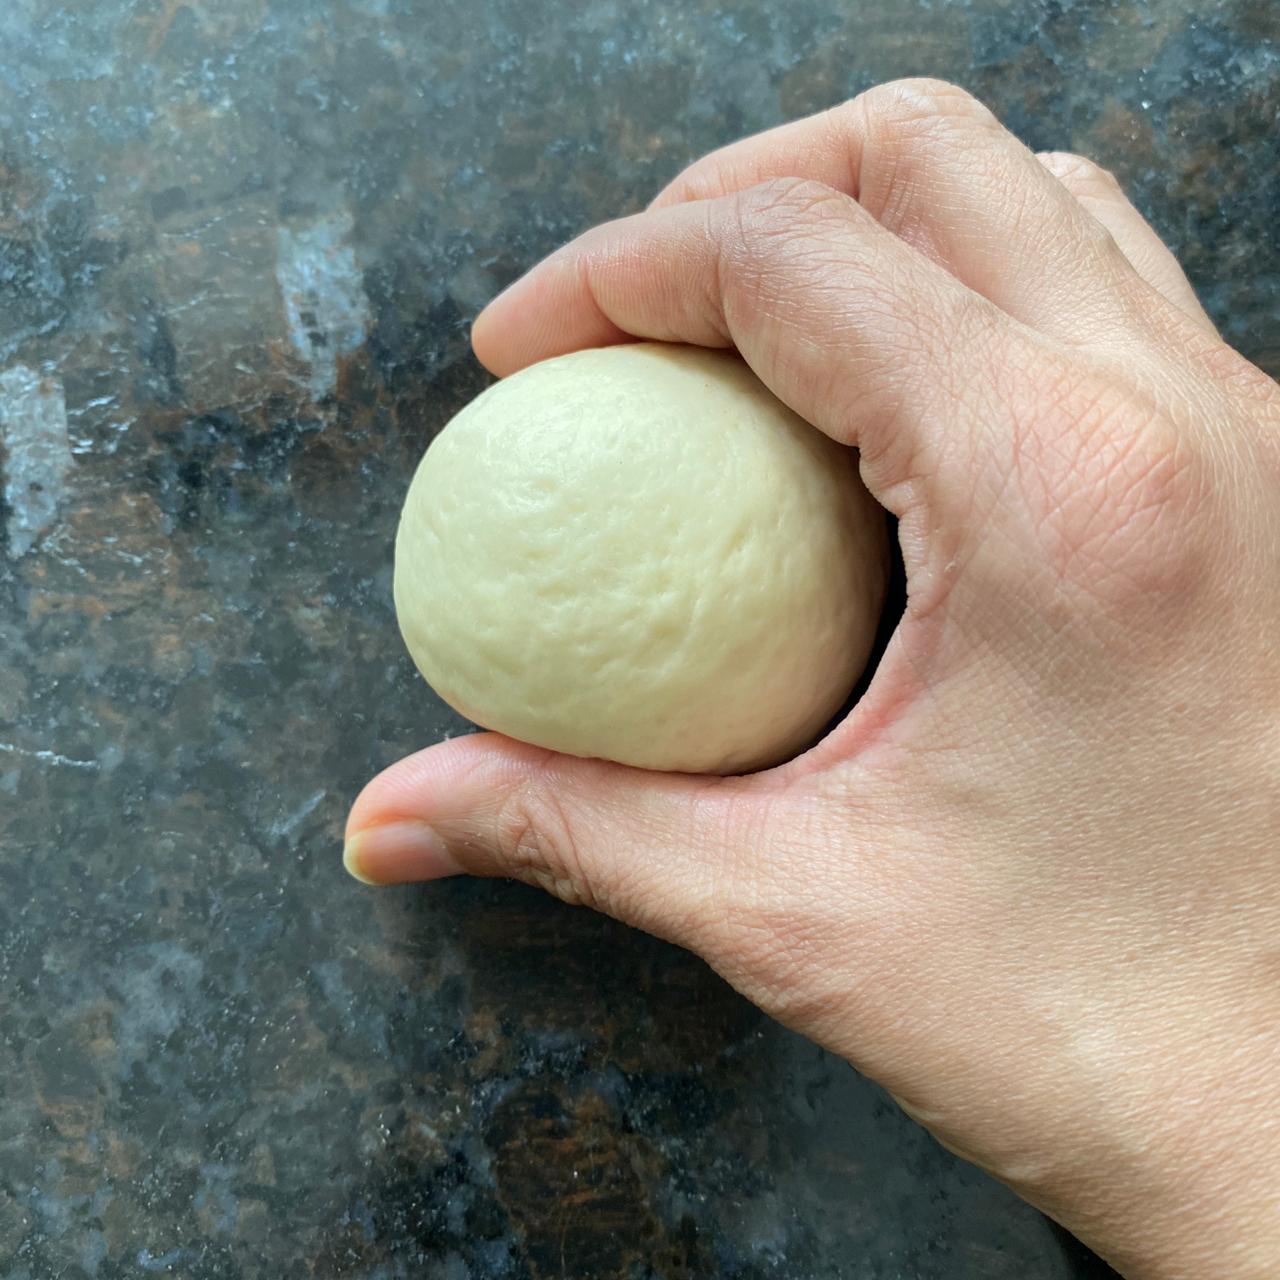
| 8. | Roll each ball on the kitchen counter, cupping it as you roll, to achieve a smooth surface.
|
| 9. | Arrange them not very apart into 2 lines; the idea is to let them fuse together as they rise. Flatten the tops of the dough buns.
|
| 10. | Mist the top with water so that they don’t form a skin. Cover it with a wet cloth or klin film. Leave it to rise for about 25 – 30 minutes. |
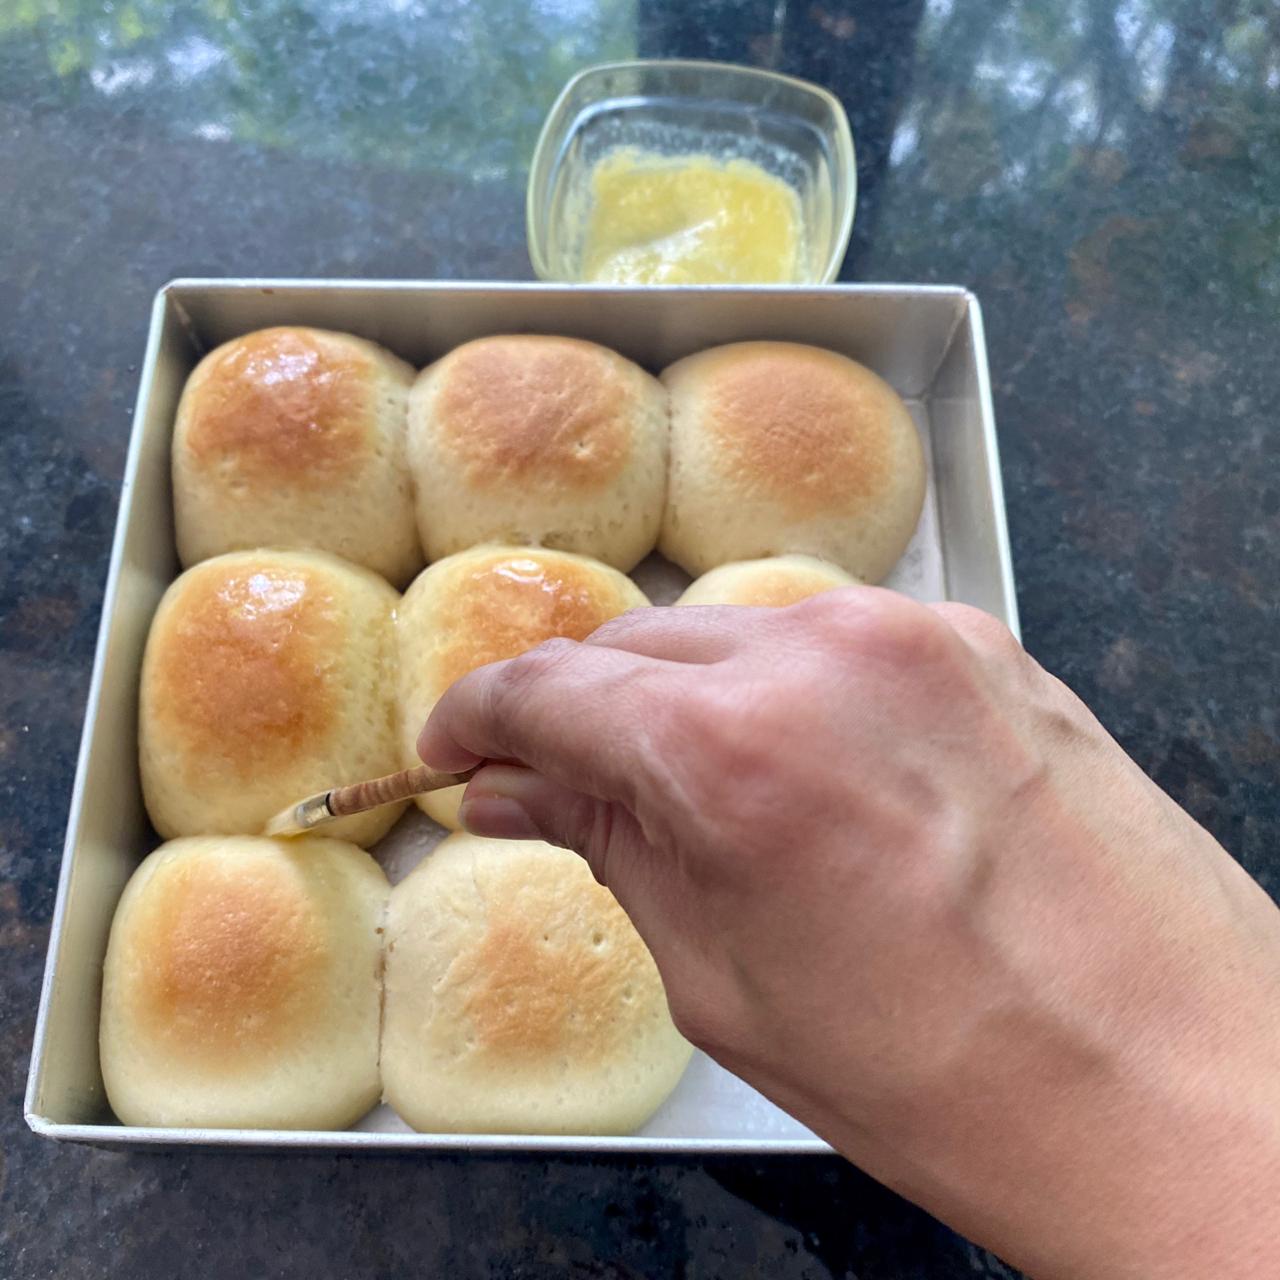
| 11. | Pre-heat oven to 200°C. Bake the bread in preheated oven for 8 – 10 minutes until slightly golden brown. |
| 12. | Remove from oven and immediately brush lightly with melted butter. Cool completely before serving.
|
Note: |
|
| 1. | This isn’t a sweet pav bread, hence we haven’t done a milk wash nor added too much sugar in the dough. |
| 2. | It’s best consumed fresh. However to store pls wrap the bread in a ziplock bag and keep refrigerated . It lasts for two days as we don’t use any preservatives . |
| 3. | You can store bread in an airtight container as well. |
| 4. | Once bread is baked , check if the bread sounds hollow , that’s when it’s baked completely. |